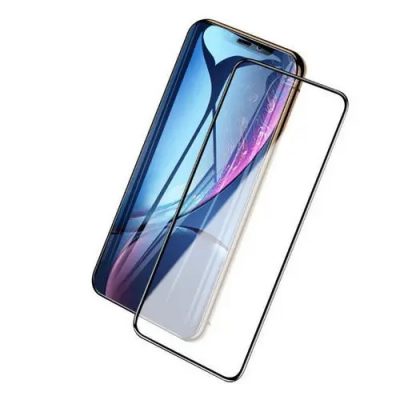
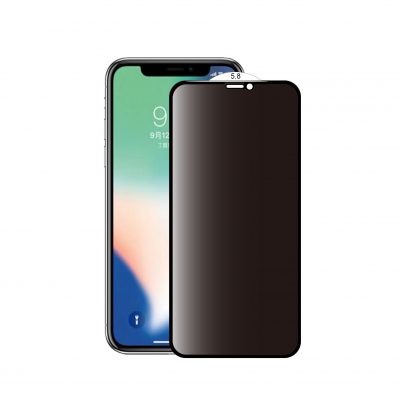
1. Follow the steps in the photo below to clean the screen
(1) First blow off the dust around the phone.
(2) Use the soft bristles of the lens pen to brush as much dust as possible.
(3) Finally wipe off the fine dust with the lens wiping cloth. Be careful, gently wipe the lens wiping cloth from left to right three times. Do not wipe back and forth. This will easily move the dust left and right, and the result will still be on the screen.
2. The film begins
(1) Tear off the first sub-film (a layer of protective film) along the protruding part. Remember, do not completely tear off this sub-film, just tear off a corner, and do not let it fit. The surface is exposed to the air for a long time, and it is easy to get dust.
(2) Align the side with the secondary film uncovered on the screen, and slowly stick it on the screen.
(3) Use a credit card or hard plastic sheet to gently push in the direction of the film. In this way, gently push in the direction of the film. The purpose of this is to ensure that no bubbles are generated during the filming process. It is necessary to observe whether there are bubbles in the bonded part. Once bubbles are found, they should be lifted gently, and the dust should be removed and then continue to operate. If they are completely attached and bubbles are found, remedy will not be easy.
(4) After the paste is completely flat, slowly tear off the second secondary film on the surface. (If the screen of the model is sunken, you can use a strong transparent glue to stick it out.


